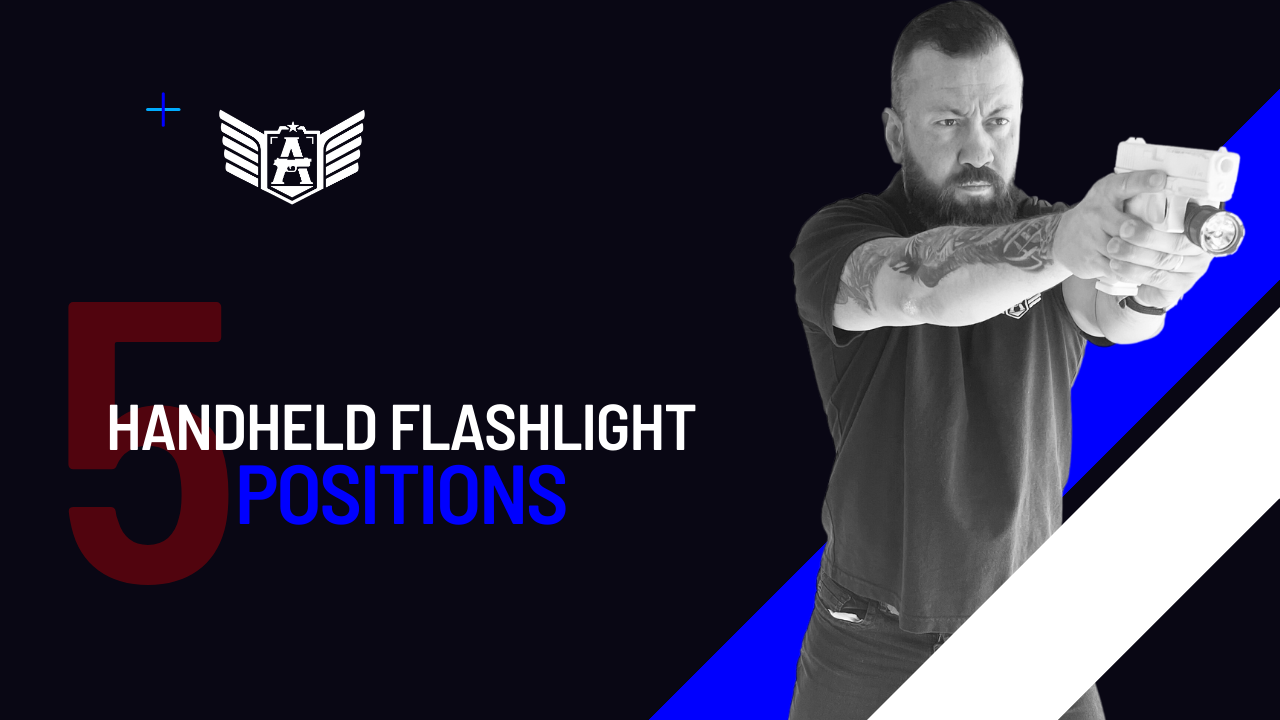
Even if you have a weapon-mounted light, having a handheld light is imperative. Often, you may need to illuminate a specific environment to identify targets, and using your weapon-mounted light can compromise firearm safety rules, possibly muzzling unintended targets.
So, knowing how to use a handheld light in conjunction with a pistol is a skill that can be valuable in various contexts, for armed civilians, law enforcement, or military personnel in their respective fields. At ABA Intl, we offer various teaching methods, including in-person courses with durations starting from 16 days, online courses, and, of course, this portal where you find yourself. In this post, we will explore five of the primary shooting positions using handheld lights. We hope this serves as an incentive for our readers to delve deeper into the topic and seek specialized training continually.
Ready?
(1) FBI Position
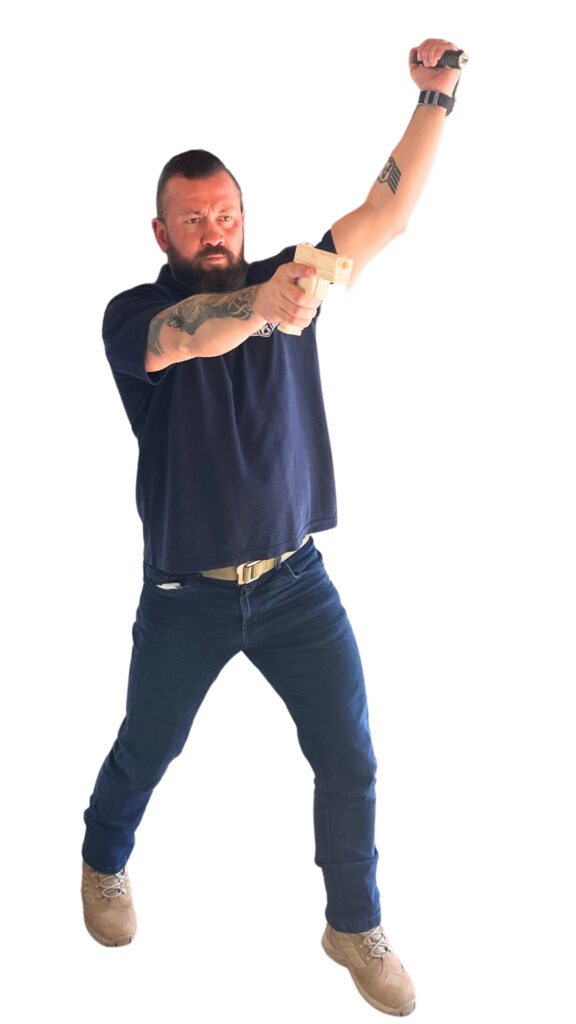
The FBI position involves gripping the pistol with one hand while keeping the other arm extended at around a 45° angle. The concept is to keep the light’s beam away from the shooter’s torso, theoretically diverting an attacker’s attention to the light and, therefore, protecting the shooter.
For those who still – for heaven’s sake, folks! – don’t have red dots or night sights, positioning the light farther back from the firearm helps illuminate the sight picture.
In practice, however, the firearm and the light are often not perfectly aligned. It can be relatively challenging to aim the gun and light simultaneously, and of course, holding your arm at a 45° angle can become tiring over time.

(2) Modified FBI Position
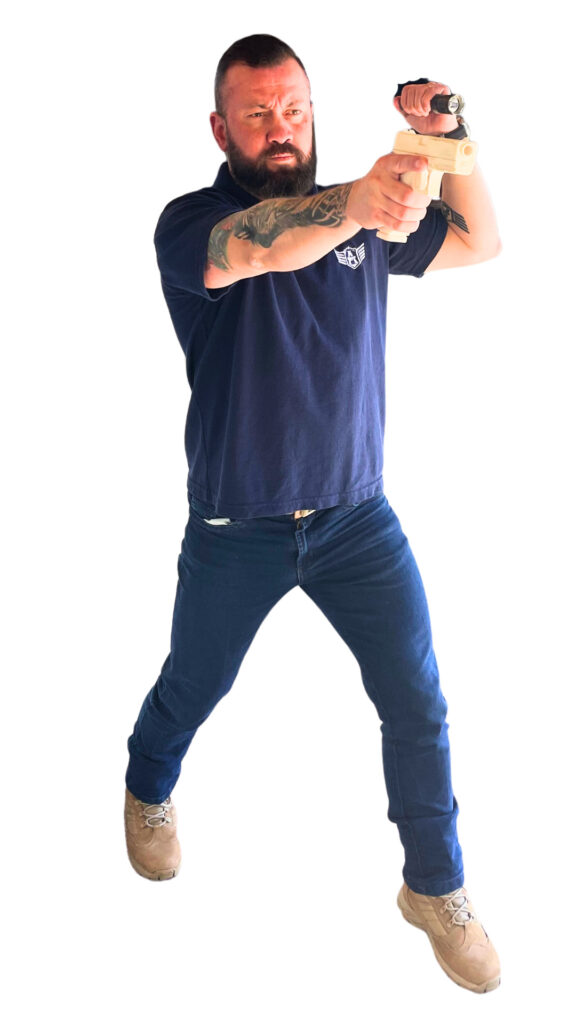
This position differs from the previous one solely in the bending of the elbow of the arm holding the light. This makes the position more sustainable over longer periods. In practice, it’s a more natural position for most shooters, making it easier to align the light and the firearm.
(3) Neck Index
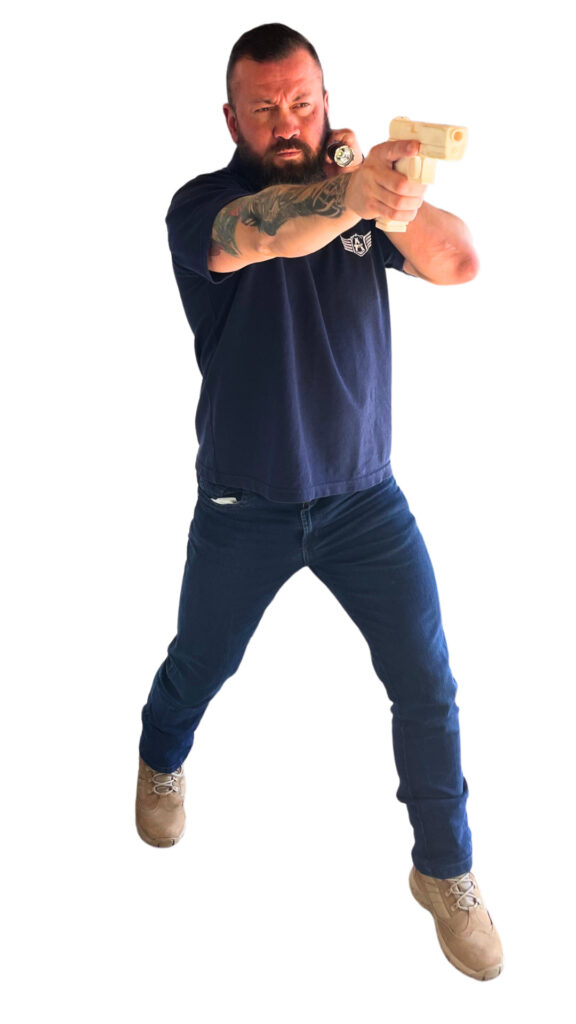
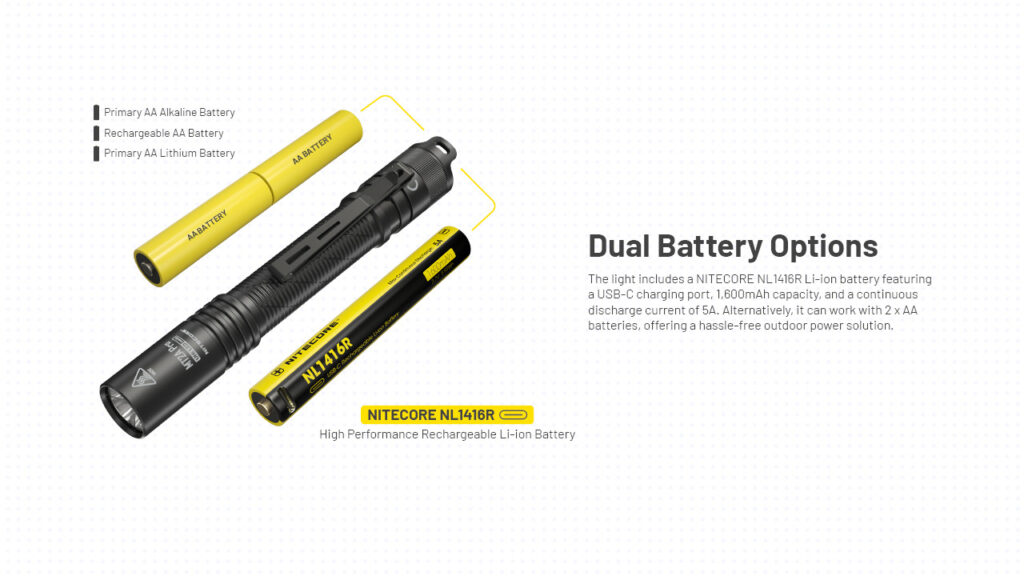
This position requires the least cognitive effort from the shooter. It can be especially useful when you need your full focus on combat situations. The light is literally touching the shooter’s neck, so wherever the shooter turns his head, the light follows.
It’s quite intuitive, and among all the positions, it probably requires the least amount of training. This position also illuminates the sight picture and the pistol itself if necessary.

Harries Position
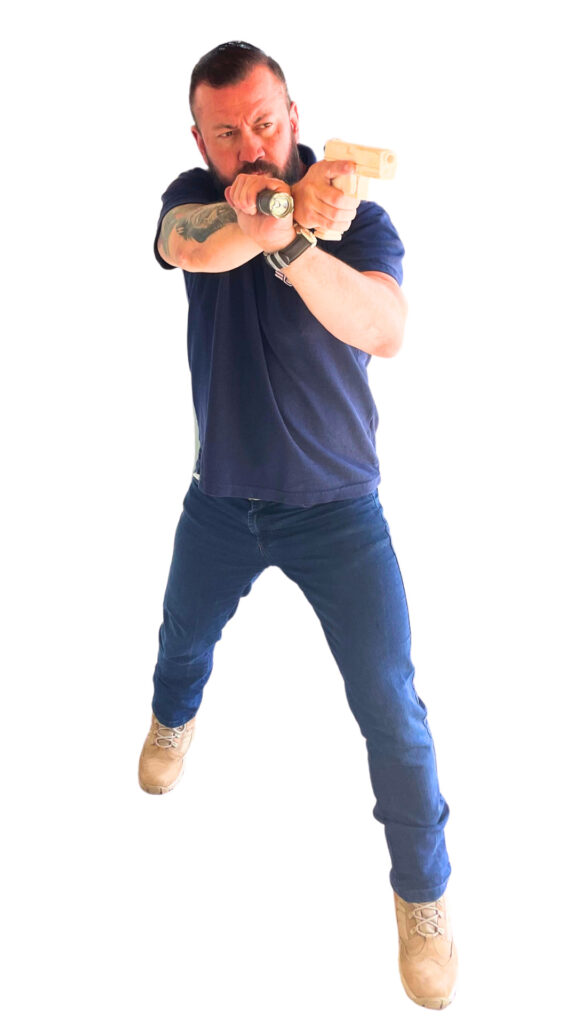
This is the position that Hollywood actors love the most. I don’t know why actors enjoy using the Harries position so much in movies; it must be because it looks either super sexy or super tactical; I’m not sure.
In the Harries Position, the backs of the hands meet, creating opposing forces that are theoretically meant to help mitigate recoil, offering some of the benefits of a two-handed grip.
In practice, however, recoil remains pretty much the same as with a one-handed grip, but the back-to-back contact can also serve as an index, meaning where the gun points, the light points.

(5) Surefire Position
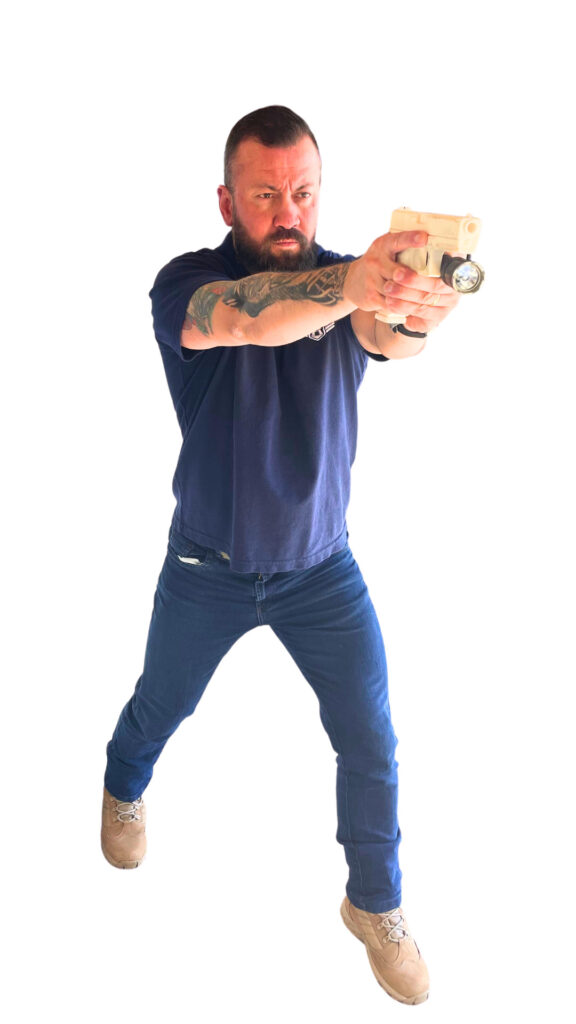
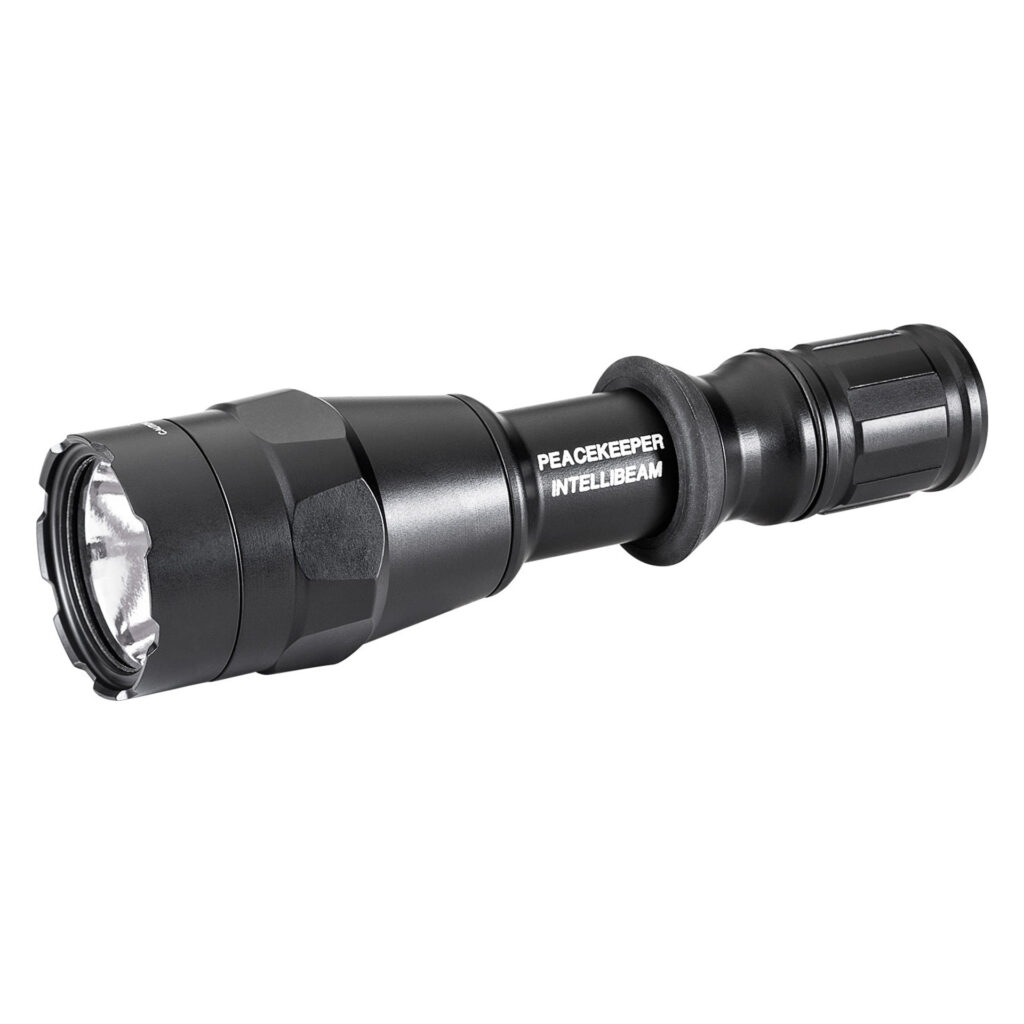
Some flashlights have a feature called a tactical ring that allows for proper execution of the Surefire position. The idea is to hold the flashlight between your fingers, pressing it against the palm of your hand as if it were a syringe. The remaining fingers are used to create a partial grip on the pistol.
It takes practice for this to become natural, but after some time, it becomes reasonably acceptable. The flashlight and the pistol point approximately in the same direction, and the shooter maintains a two-handed grip on the firearm.
IN THE REAL WORLD
It’s highly unlikely that you’ll be able to stick to just one of these positions in a real scenario. While moving through environments, you’ll realize the need to transition between multiple positions. My suggestion, if you don’t have experience with these motor skills, is to use a Blue Gun (a non-functional firearm replica) and your everyday flashlight to practice.
In our courses, I like to introduce technical aspects with full illumination. Shooters practice all positions in (1) dry-fire exercises, then with (2) real ammo before we venture into (3) low light shooting, following a pedagogical progression focused on safe learning.
Furthermore, it’s reasonable to assume that you’ll need to balance muzzle discipline with handheld light use, as well as basic firearm handling, such as malfunction clearance and reloads, for example. But that’s a topic for a future publication!
